Here’s a guide for the aspiring armature mechanic on the process of changing the motor oil in a car or small truck. No matter you are anywhere in Australia, but you can easily find quality mechanics in Underwood. Automotive maintenance is taken great care in Brisbane.
Once upon a time, changing your own motor oil was a popular way of saving money with just a set of car ramps and a few simple tools. While the tools and the process have not changed, the advent of drive-in shops that specialize in changing oil has reduced a lot of do-it-yourselfers into someone who washes their own car.
However, in these tough economic times, it’s good to know that the job can still be done at home and that there’s still money to be saved, so here’s the deal.
Motor Oil 101
First let’s talk motor oil for dummies. Motor oil is among the two or three lubricants every vehicle needs to keep from grinding to a painful halt. Vehicles equipped with a manual transmission generally use two lubricants while those equipped with an automatic transmission use three. Motor oil is pumped via the oil pump, through the oil filter and then through the engine where it acts as a lubricant to avoid damage from friction, heat and corrosion.
The Society of Automotive Engineers (SAE) grades motor oils according to their viscosity. SAE viscosity grades range from low to high: 0, 5, 10, 15, 20, 25, 30, 40, 50 and 60. To explain even briefly what constitutes today’s motor oil would be another article unto itself. Just stay with the term lubricant and the rest will slip into place. The other two common lubricants are transmission fluid and gear oil. Note: Buy your oil from an auto parts store, not a gas station where the price will be much higher.
The Painless Drain
The first thing you’ll need to do once you’ve safely and securely ramped up the vehicle is drain the oil from the engine. Make sure to wait until the engine gets cool to the couch. If you can’t touch the engine, you can be guaranteed that the oil will be very hot. Warm oil is desired because it will be thinner and flow out much faster than cold.
Start by making sure you have your waste oil drain pan nearby under the car so you can slide it under the engine oil pan once the drain plug is loose. A waste oil drain pan is generally made of inexpensive plastic and can by purchased at the auto parts store where you buy your oil. There usually about six inches deep and about twelve inches across. Most engines hold about five quarts of oil and the pan will hold 4.5 gallons. They have a molded handle at one end and a pouring spout at the other which makes dumping the oil fairly easy.
The drain plug is on the bottom of the oil pan which is on the extreme bottom of the engine. The plug turns to the left to loosen. “Righty Tighty, Lefty Lousy” are “Words to live by”. Break the plug loose with the correct size box wrench and then remove it the rest of the way by hand. Make sure to have a good eight to ten inches of the waste oil pan under the drain hole so the oil doesn’t pour out over the edge.
Once the oil has completely drained from the engine, put the drain plug back in. Repeat, put the drain plug back in! Use your wrench to tighten it, but don’t over tighten it. If you do, you’ll strip the treads and it will leak for ever more. Now you can remove the oil filter. In order for me to explain what an oil filter wrench is all about, I must first assume that there are some of you who don’t know what an oil filter looks like or exactly what it does.
The Filter
Most “spin-on” oil filter resemble a metal can. They house filter “media” that focus organic as well as inorganic impurity from where the oil is pumped through it on its way to the rest of the engine. There are numerous types of oil filter wrenches and you’ll need to ask your auto parts store which one is best suited for your vehicle. The most common is the belt or strap wrench which is slid on so that when the handle is turned to the left/counter clockwise, it will constrict the belt until it squeezes around the filter, griping it tight enough to turn the filter loose. Once the filter is turning loose, remove the wrench and finish removing the filter by hand. Slide the waste oil pan under the oil filter to catch any spills. To completely drain the filter, you’ll need to poke a small hole in the closed end and let it drain overnight.
Putting the new filter on is the same process in reverse with two exceptions. First you’ll need to rub a small skim of grease onto the rubber O ring around the top of the filter. This helps the filter seal tightly. Second, when ever possible tightening the filter into place using hand force only. Get it as tight as you can by gripping it firmly and turning as hard as you can. Do not use the belt wrench to tighten the filter back on. If you do, there’s a good chance you’ll over tighten it which can damage the filter and make it very hard to get off in the future.
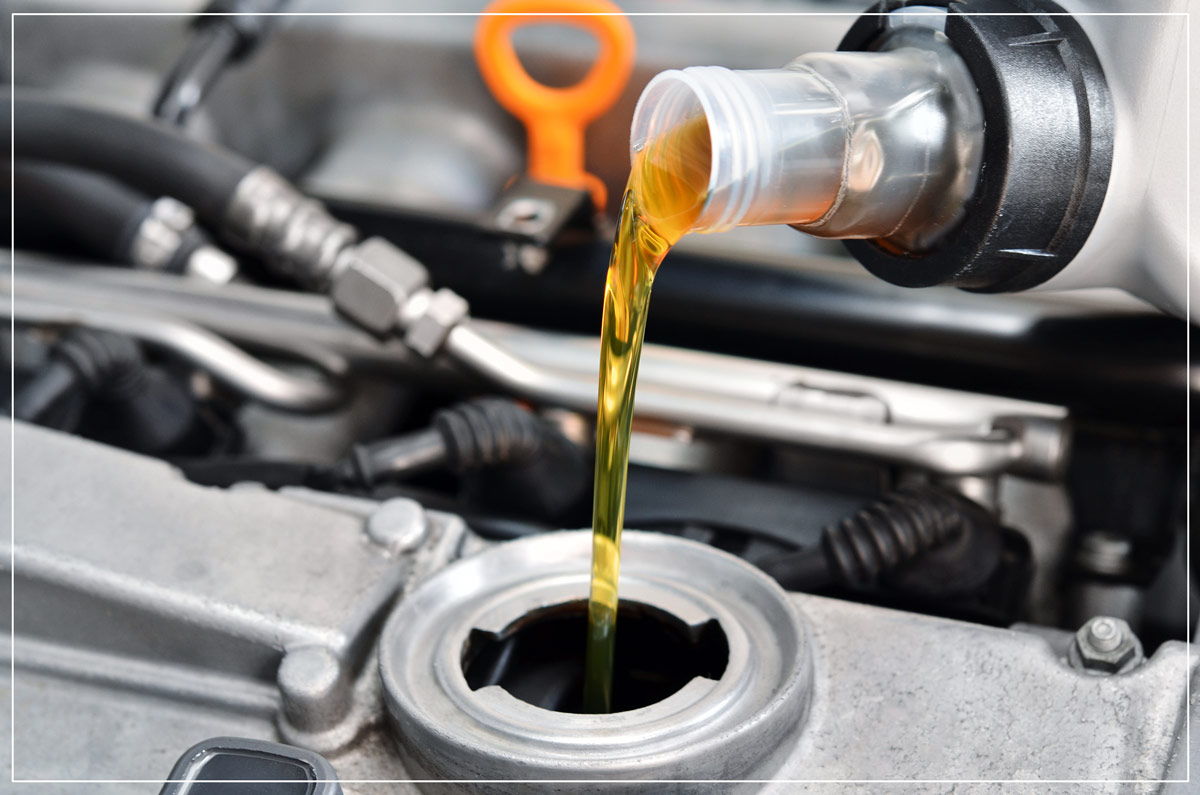
Next, pour in the correct type and amount of oil as per your owner’s manual. Run the engine for a few minutes making sure to take a look under the car to make sure nothing is leaking. Turn off the engine and check to make sure the oil is at the full mark.
“Oils Well, Ends Well”
Finally, properly recycle the waste oil. Most anyone who sells new motor oil and filters will take back the waist oil and used filters for recycling. I keep a two gallon gas can that I use just for waste oil. I carefully dump the oil from the drain pan to the can and take it for recycling at my leisure. Make sure you hang onto your new oil and filter sales slip as some stores will want proof that you bought the new stuff from them before they’ll take back the old.

 Home
Home


